

Blueberry Jewelers
Jewelry
Las Vegas / NV / US
 0 (0)
0 (0)
0 followers
Mastering the Art of Jewelry Repair: A DIY Guide
Jewelry, with its intricate designs and delicate materials, often requires skilled care to maintain its beauty and functionality. Whether you're a jewelry enthusiast or a budding repair expert, understanding the basics of jewelry repair can be both rewarding and practical. Here’s a simple guide to get you started.
1. Replacing a Broken Clasp
Clasps are pivotal in necklaces and bracelets but are prone to damage. To replace a broken clasp:
Gather tools: pliers, a new clasp, and jump rings.
Remove the broken clasp using pliers.
Attach the new clasp using a jump ring, and secure it by closing the ring with pliers.
2. Fixing a Loose Gemstone
Loose gemstones in settings like rings or earrings can be secured with a few careful steps:
Clean the gemstone and setting.
If the setting has prongs, gently push them towards the stone using a small tool or tweezers.
Ensure the stone is snugly fit without applying excessive force.
3. Mending a Broken Chain
Repairing a broken chain requires patience and precision:
Align the broken ends.
If it’s a simple link chain, open the link at the break with pliers, reconnect the ends, and close the link.
For finer chains, soldering might be required, which is best done by a professional.
4. Polishing Tarnished Jewelry
Restore the shine of tarnished jewelry easily:
Prepare a solution of warm water and mild dish soap.
Gently scrub the jewelry with a soft-bristled brush.
Rinse and dry with a soft cloth.
For silver jewelry, a silver polish can be used for extra shine.
5. Tightening Loose Earring Backs
Loose earring backs can lead to lost earrings. To tighten them:
Gently pinch the loops of the earring back closer using pliers.
Test the fit and adjust as necessary.
Remember, while many minor repairs can be done at home, intricate or valuable pieces should be entrusted to professional jewelers to avoid accidental damage. With these tips, you can extend the life and beauty of your cherished jewelry pieces.
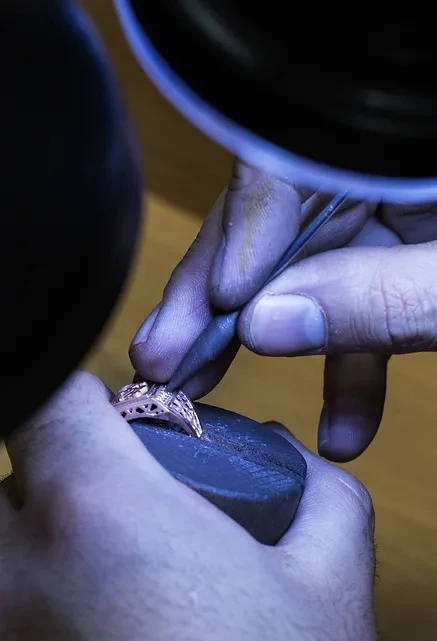
Jewelry, with its intricate designs and delicate materials, often requires skilled care to maintain its beauty and functionality. Whether you're a jewelry enthusiast or a budding repair expert, understanding the basics of jewelry repair can be both rewarding and practical. Here’s a simple guide to get you started.
1. Replacing a Broken Clasp
Clasps are pivotal in necklaces and bracelets but are prone to damage. To replace a broken clasp:
Gather tools: pliers, a new clasp, and jump rings.
Remove the broken clasp using pliers.
Attach the new clasp using a jump ring, and secure it by closing the ring with pliers.
2. Fixing a Loose Gemstone
Loose gemstones in settings like rings or earrings can be secured with a few careful steps:
Clean the gemstone and setting.
If the setting has prongs, gently push them towards the stone using a small tool or tweezers.
Ensure the stone is snugly fit without applying excessive force.
3. Mending a Broken Chain
Repairing a broken chain requires patience and precision:
Align the broken ends.
If it’s a simple link chain, open the link at the break with pliers, reconnect the ends, and close the link.
For finer chains, soldering might be required, which is best done by a professional.
4. Polishing Tarnished Jewelry
Restore the shine of tarnished jewelry easily:
Prepare a solution of warm water and mild dish soap.
Gently scrub the jewelry with a soft-bristled brush.
Rinse and dry with a soft cloth.
For silver jewelry, a silver polish can be used for extra shine.
5. Tightening Loose Earring Backs
Loose earring backs can lead to lost earrings. To tighten them:
Gently pinch the loops of the earring back closer using pliers.
Test the fit and adjust as necessary.
Remember, while many minor repairs can be done at home, intricate or valuable pieces should be entrusted to professional jewelers to avoid accidental damage. With these tips, you can extend the life and beauty of your cherished jewelry pieces.
2 Likes
