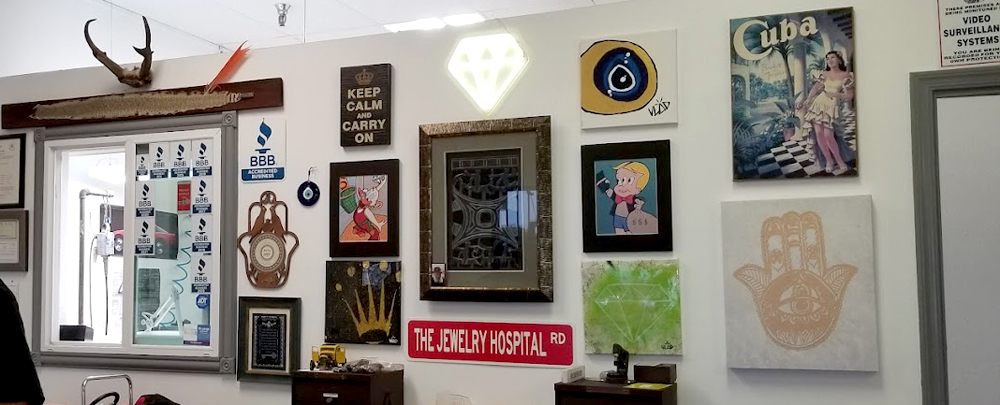

The Jewelry Hospital
Jewelry
Glendale / AZ / US
 0 (0)
0 (0)
0 followers
Simple Steps to DIY Jewelry Repair: Fixing Common Issues at Home
Jewelry, with its delicate intricacies, often faces the inevitable wear and tear of time. But fear not! Many common jewelry issues can be addressed right at your home workbench. Here's a straightforward guide to tackling some typical repairs.
1. Tightening Loose Stones
Materials: Epoxy glue, toothpick, clean cloth.
Procedure:
First, clean the area around the loose stone with a cloth.
Apply a tiny dab of epoxy using the toothpick to the setting.
Carefully reposition the stone and leave it to dry for 24 hours.
2. Fixing a Broken Chain
Materials: Soldering iron, silver solder, flux, tweezers.
Procedure:
Apply a small amount of flux to the broken ends.
Use tweezers to hold the ends together.
Heat the ends with the soldering iron and apply the silver solder until it flows over the joint.
Let it cool and then clean off any residue.
3. Replacing a Clasp
Materials: New clasp, two pairs of pliers.
Procedure:
Use one pair of pliers to hold the ring on the end of the chain.
Use the other pair to open the ring, attach the new clasp, and close the ring.
4. Polishing Scratched Metal
Materials: Polishing cloth, jeweler's rouge.
Procedure:
Gently rub the scratched area with a cloth dabbed in jeweler's rouge.
Buff with a clean part of the cloth until the shine returns.
5. Untangling Knotted Chains
Materials: Baby oil, two sewing needles.
Procedure:
Apply a few drops of baby oil to the knot.
Use the needles to gently tease apart the knot.
Remember, while these tips are helpful for minor repairs, intricate issues and valuable pieces should always be entrusted to a professional jeweler. DIY repairs are a convenient way to extend the life of your beloved jewelry, keeping your cherished pieces looking their best.
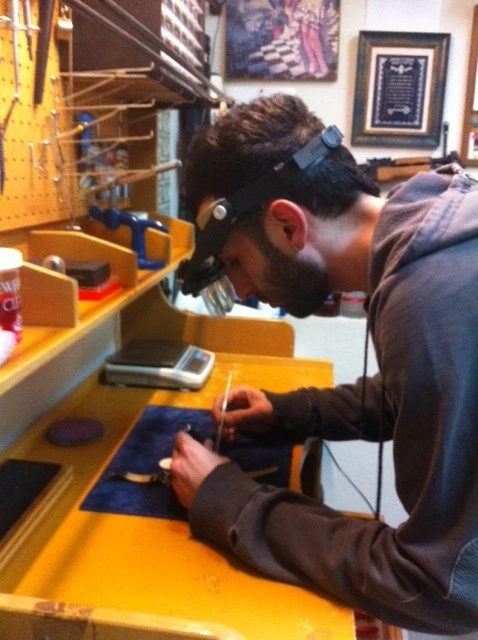
Jewelry, with its delicate intricacies, often faces the inevitable wear and tear of time. But fear not! Many common jewelry issues can be addressed right at your home workbench. Here's a straightforward guide to tackling some typical repairs.
1. Tightening Loose Stones
Materials: Epoxy glue, toothpick, clean cloth.
Procedure:
First, clean the area around the loose stone with a cloth.
Apply a tiny dab of epoxy using the toothpick to the setting.
Carefully reposition the stone and leave it to dry for 24 hours.
2. Fixing a Broken Chain
Materials: Soldering iron, silver solder, flux, tweezers.
Procedure:
Apply a small amount of flux to the broken ends.
Use tweezers to hold the ends together.
Heat the ends with the soldering iron and apply the silver solder until it flows over the joint.
Let it cool and then clean off any residue.
3. Replacing a Clasp
Materials: New clasp, two pairs of pliers.
Procedure:
Use one pair of pliers to hold the ring on the end of the chain.
Use the other pair to open the ring, attach the new clasp, and close the ring.
4. Polishing Scratched Metal
Materials: Polishing cloth, jeweler's rouge.
Procedure:
Gently rub the scratched area with a cloth dabbed in jeweler's rouge.
Buff with a clean part of the cloth until the shine returns.
5. Untangling Knotted Chains
Materials: Baby oil, two sewing needles.
Procedure:
Apply a few drops of baby oil to the knot.
Use the needles to gently tease apart the knot.
Remember, while these tips are helpful for minor repairs, intricate issues and valuable pieces should always be entrusted to a professional jeweler. DIY repairs are a convenient way to extend the life of your beloved jewelry, keeping your cherished pieces looking their best.
1 Likes
